This is a sponsored post written by me on behalf of La Marca Prosecco. It is intended for an audience over 21 years of age.
Even before I really liked wine, I always loved sparkling wine. I’m not sure if it’s the bubbles or the fact that it tends to be on the sweeter side – it’s probably both, but either way, it’s always been a favorite of mine. Who doesn’t love a glass of bubbly, whether it’s at a celebration or a Sunday brunch?
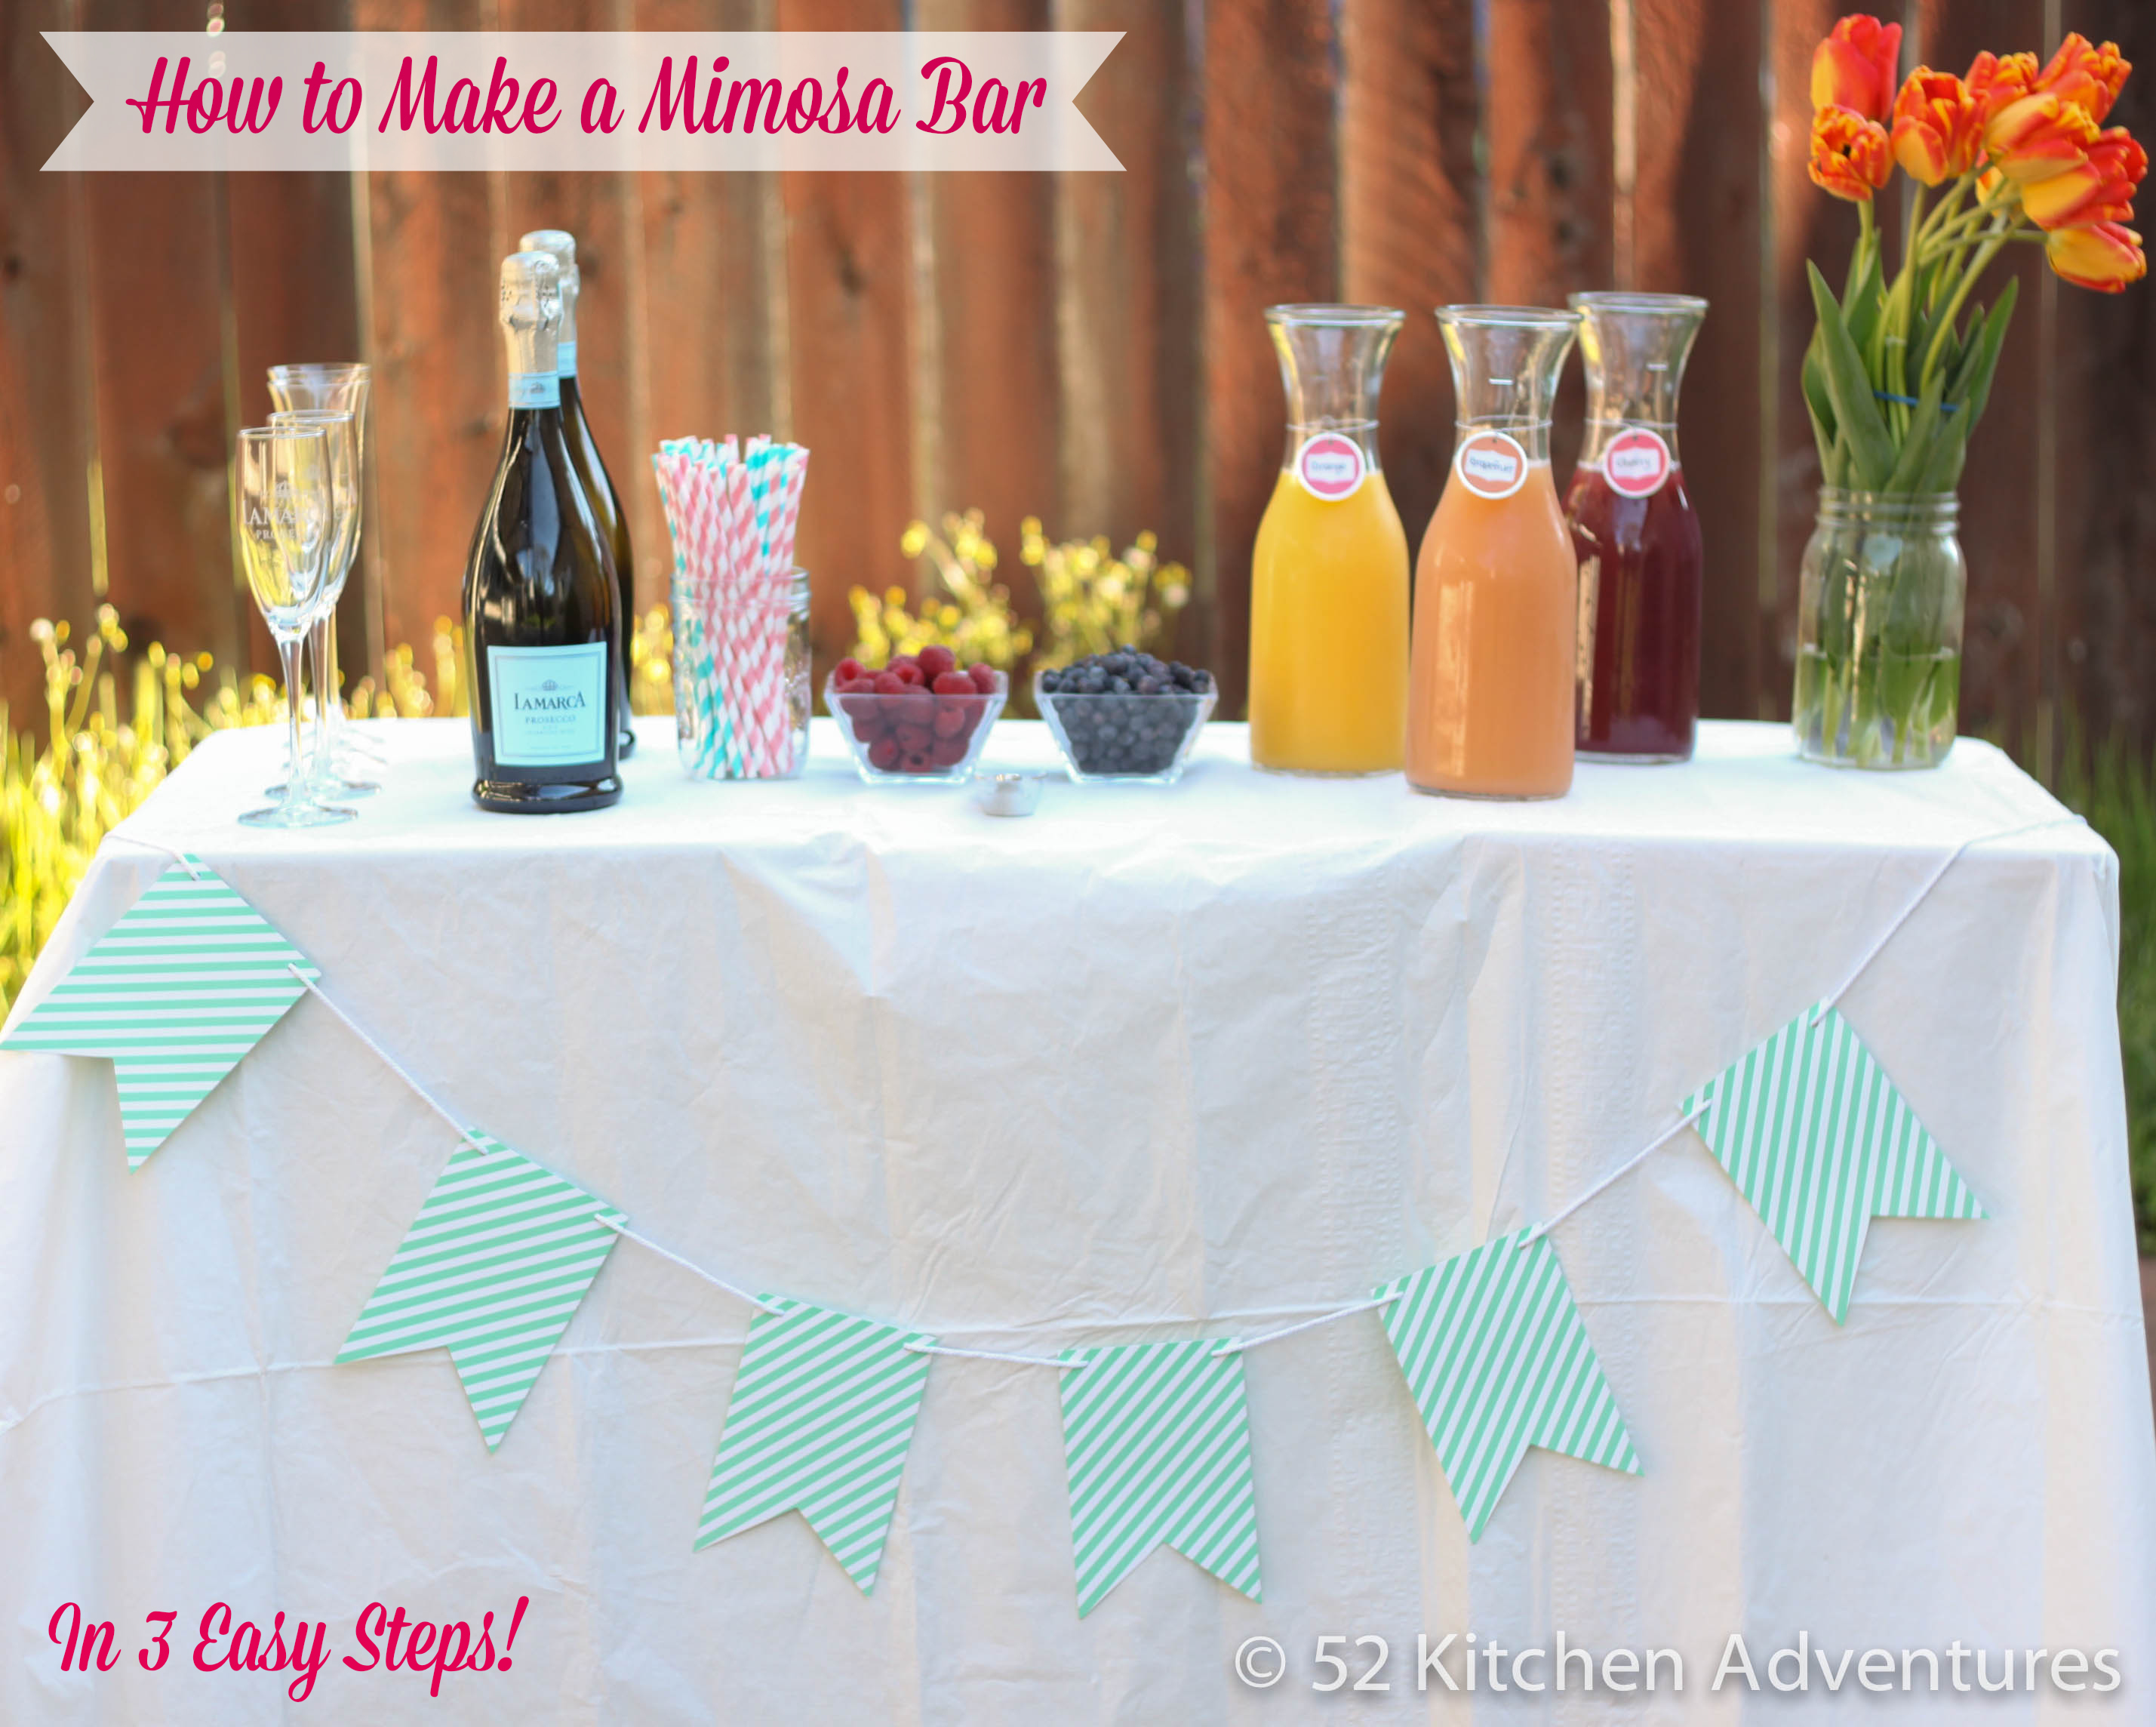
Sparkling wine is often associate with life’s celebrations, but I love to enjoy it for everyday occasions as well, especially in a good mimosa. For a recent impromptu get together with some girlfriends, I put together a mimosa bar using La Marca Prosecco, which was the perfect sparkling wine for it – it’s affordable, sweet (but not too sweet), and comes in a classy, elegant looking bottle.
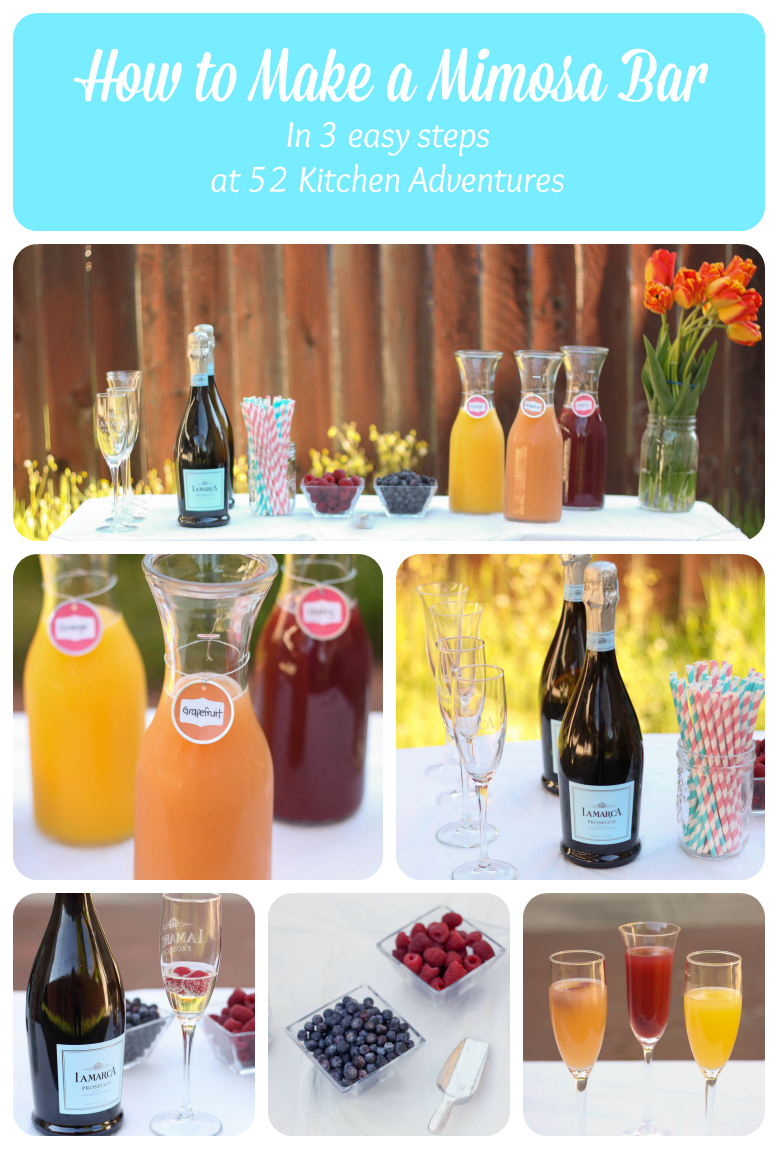
It’s surprisingly simple to put together a chic mimosa bar and it’s a fun addition to any get together, from a simple Sunday brunch to birthday parties to bridal showers. All you need to do is a little prep ahead of time and follow the 3 steps outlined below:
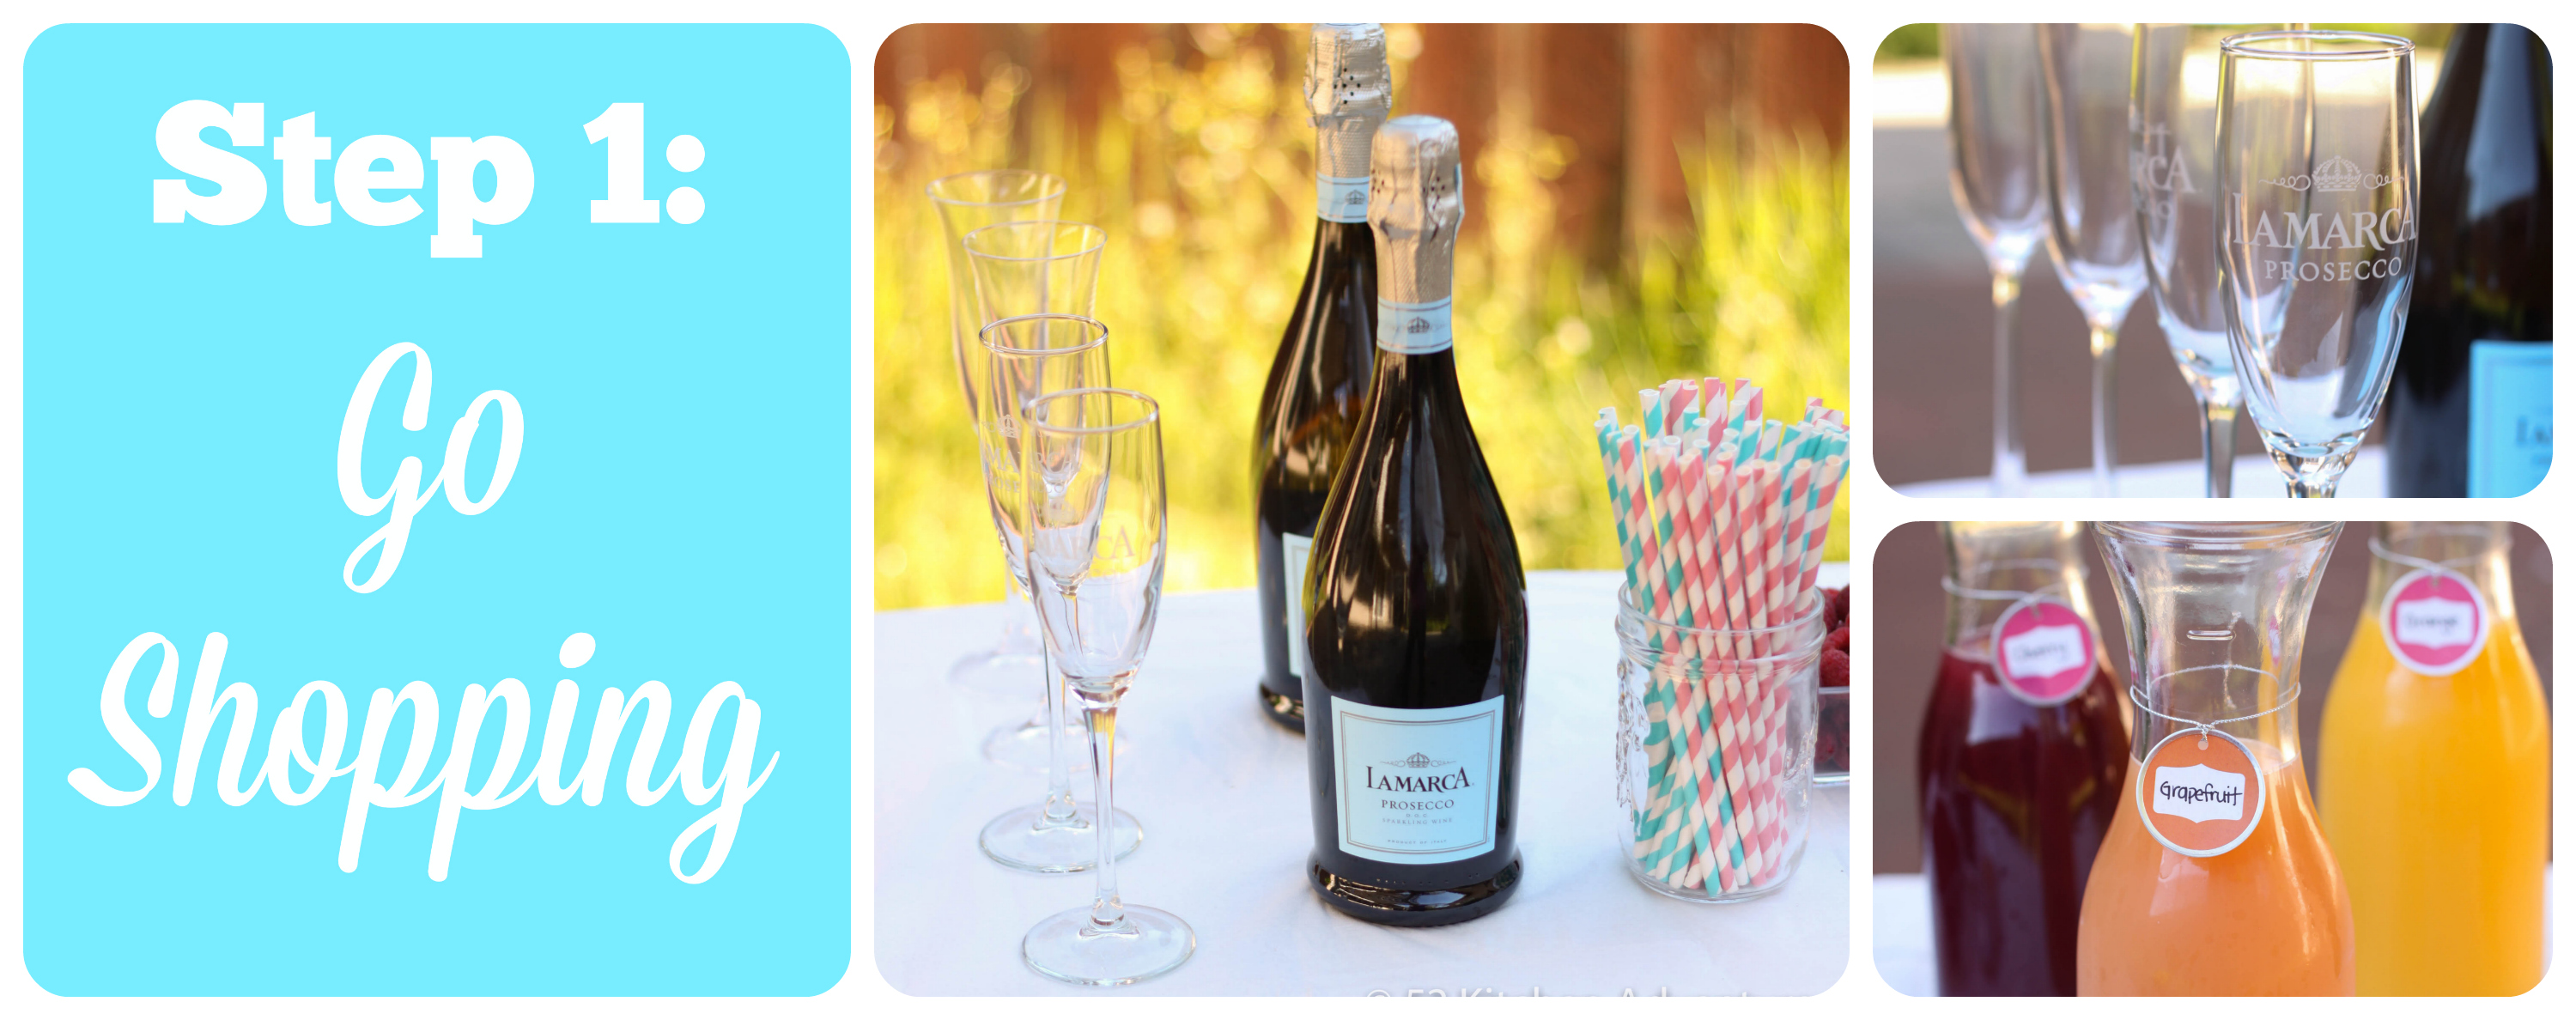
Before your event, gather all of your supplies. I put together a shopping list for you, but you can customize it for your event by picking out decor and props that go with your theme. Purchase or make labels that match your party (think about the colors and style), find a cute sign or banner on Etsy or at a local store, and add your own flair to the table. Also, fresh flowers are always a nice touch no matter the occasion.
Shopping List:
- Sparkling wine like La Marca Prosecco
- Champagne flutes (if you have a lot of guests or are worried about breaking glass, you can get plastic ones at the dollar store or a party supply store)
- Various juices (orange, grapefruit, cherry, pomegranate, lemonade, etc.)
- Fresh fruit (strawberries, blueberries, raspberries, peaches, etc.)
- Glass carafes for juice
- Labels for juice (I used gift tags from Target)
- Decor & props (fresh flowers, balloons, banner, confetti, playful straws, etc.)
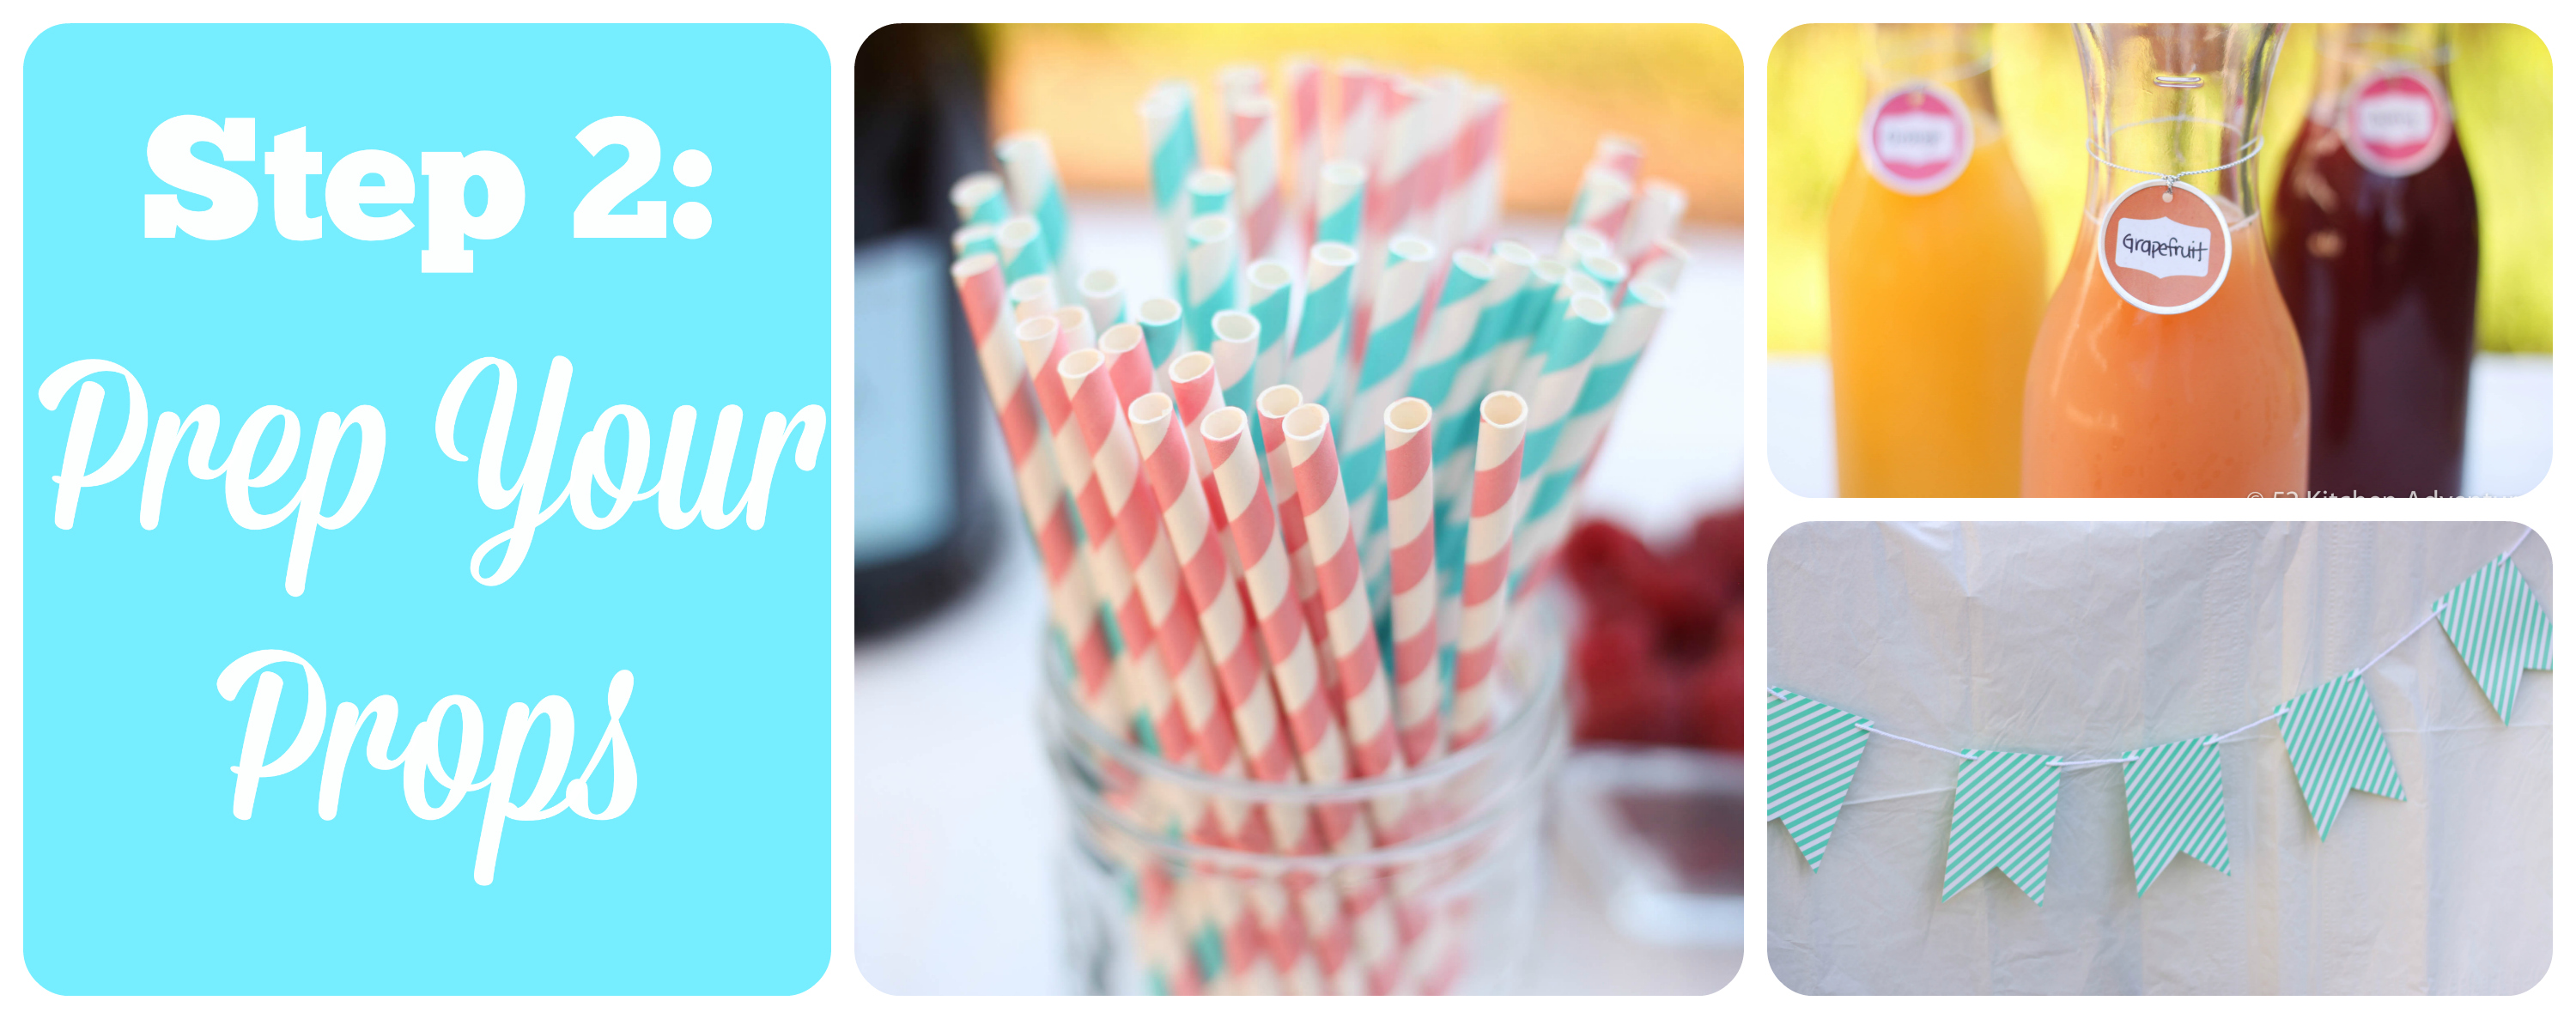
Once you’ve purchased your supplies, it’s time to set up the ones that aren’t perishable. Put together a banner, write on or print your labels and other signage, attach labels to juice carafes, arrange bouquets, etc. Prep as much as possible ahead of time to save time and stress the day of the party.
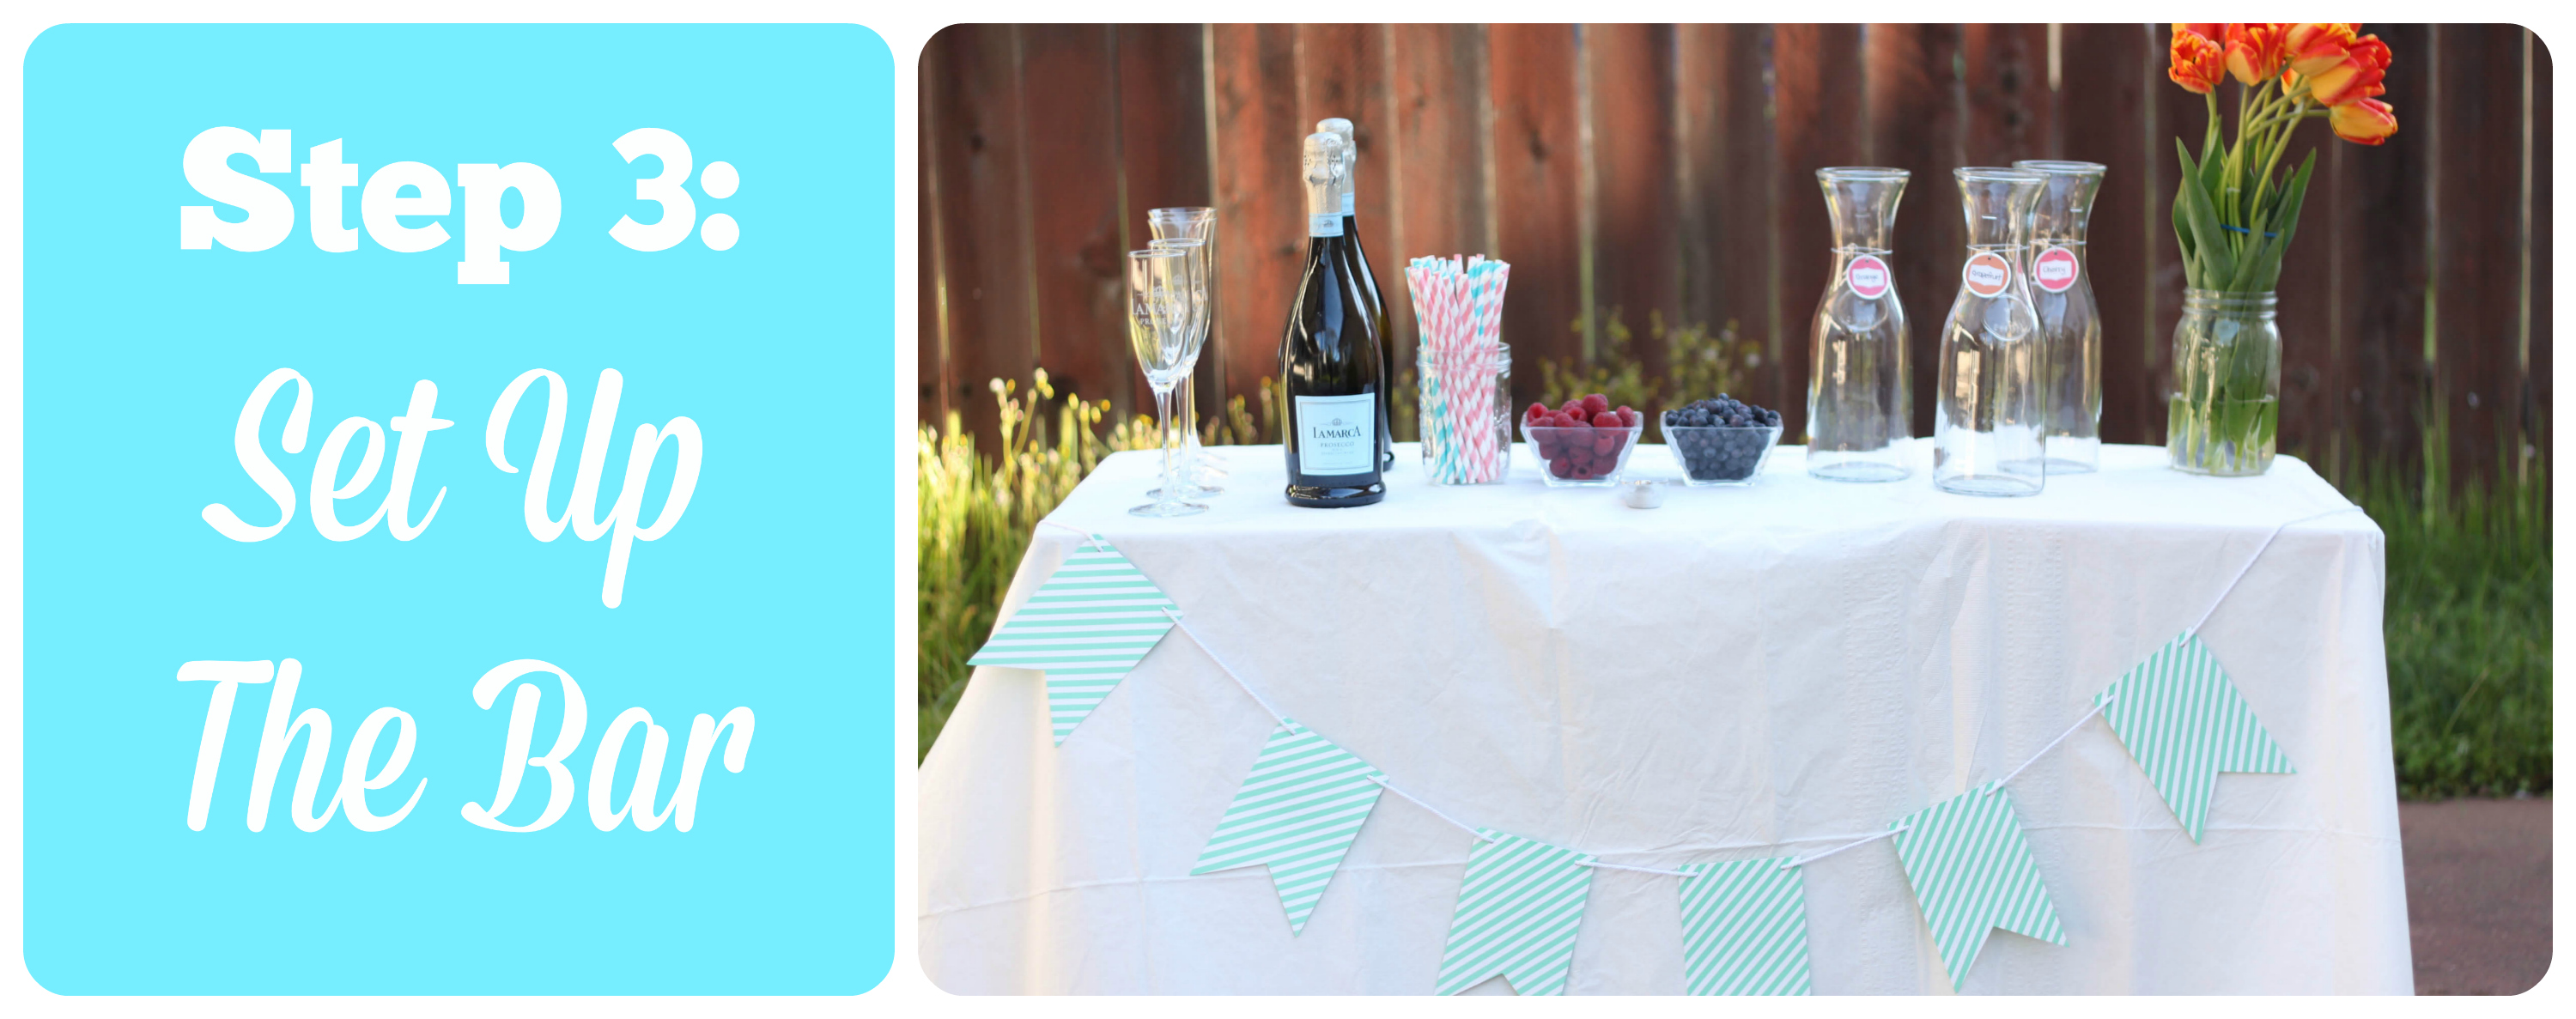
The day of the party, it’s time for the final set up. Clear off a counter or set up a table with a table cloth. Place your flutes, sparkling wine, fruit, juice, and decorations on it. Thoughtfully place things in the order you expect people to use them and think about traffic flow.
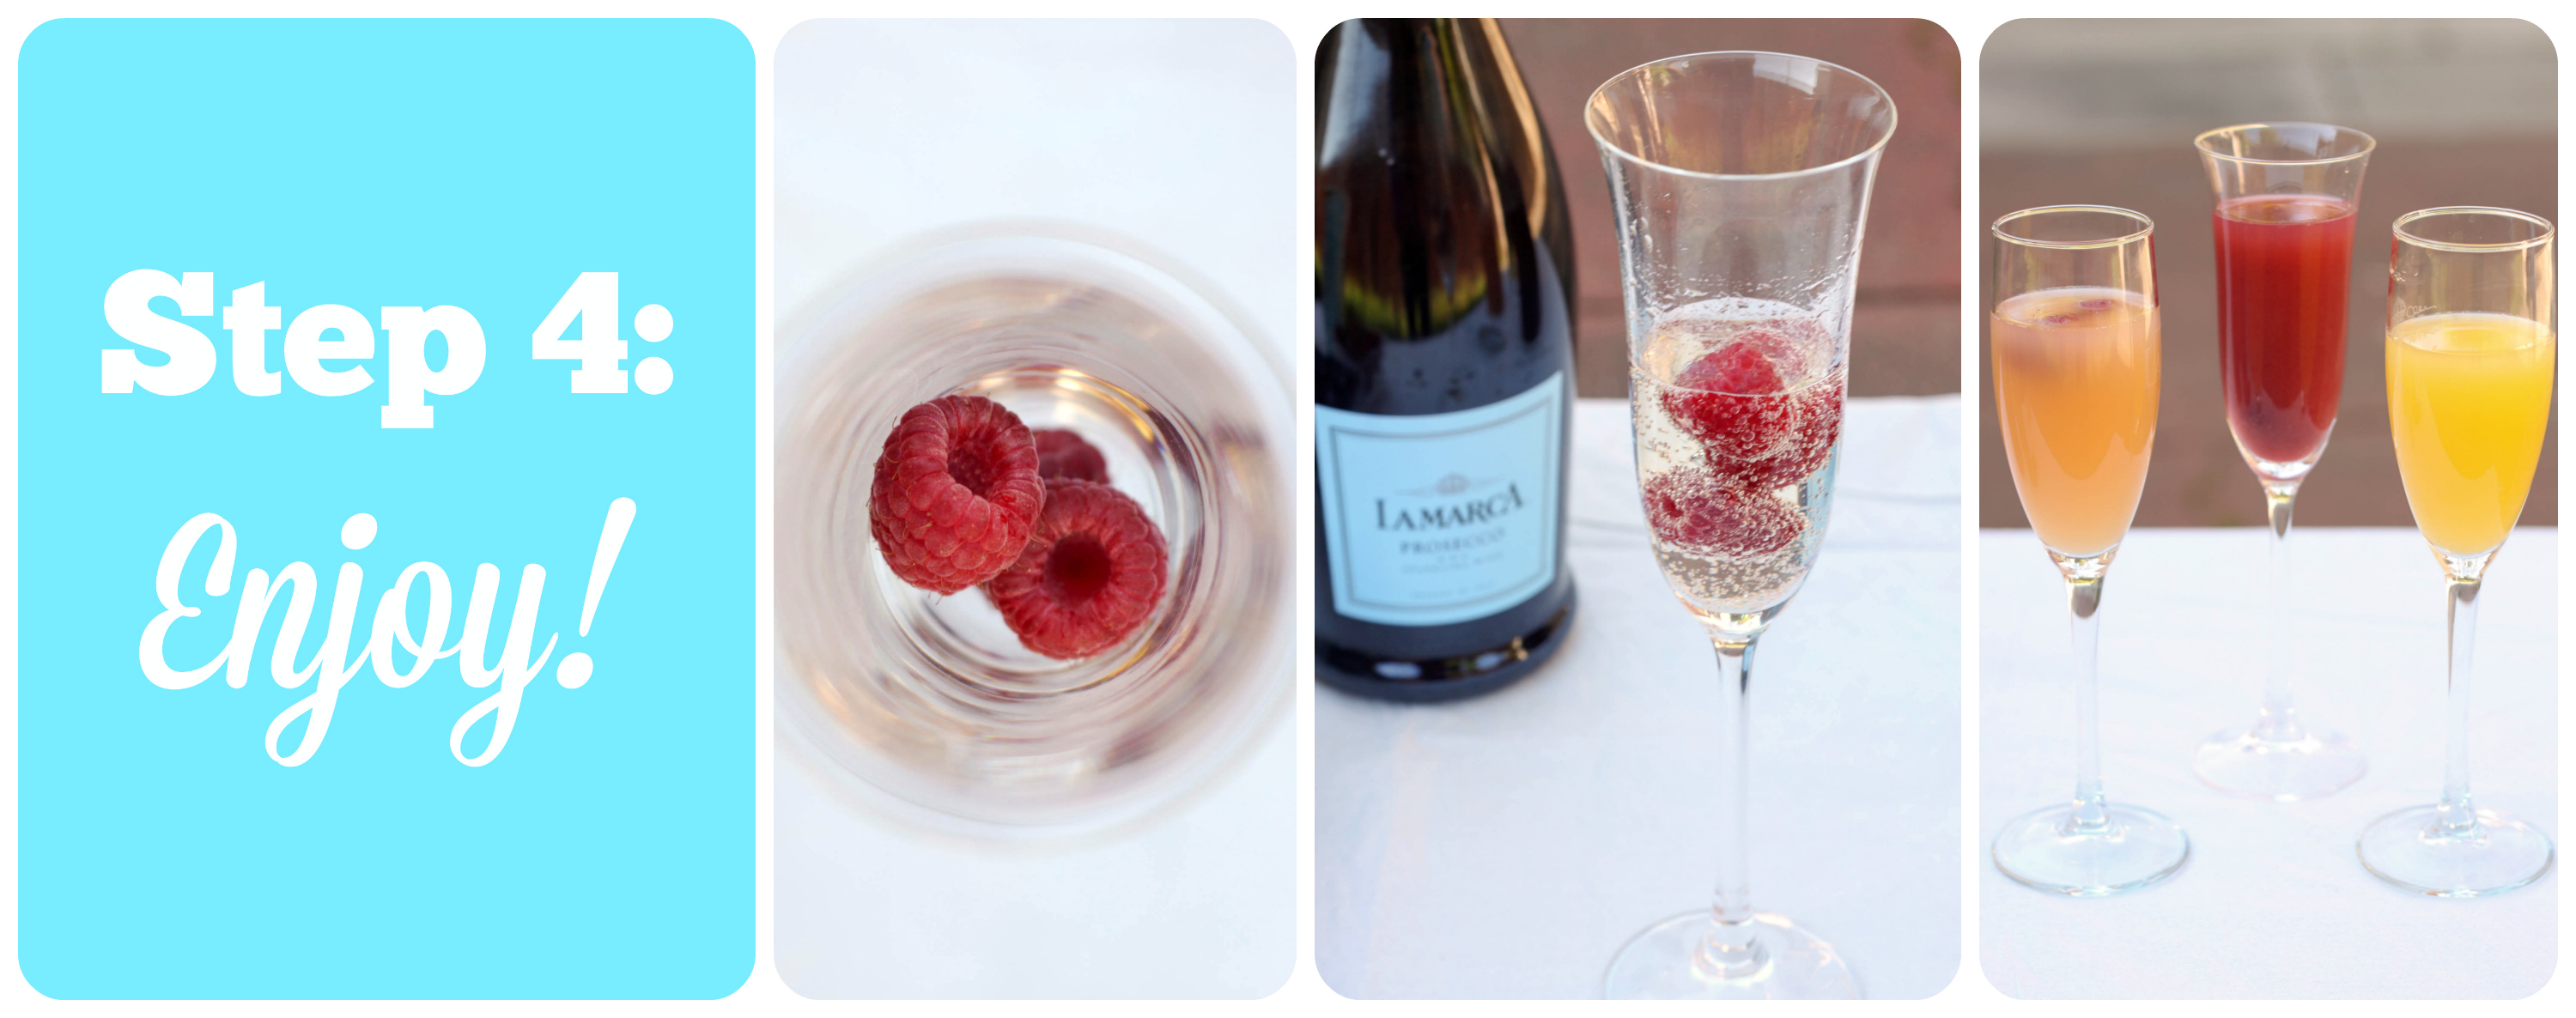
Note: My recommended order for making mimosas is placing fruit in the glass, filling half way with sparkling wine, and topping off with juice (see photos below).
Bonus Step
That’s it! Now all you have to do is make sure all your guests get a glass (and don’t forget yourself ;)), remove empties and refill juices as needed. Can you believe how simple it is to make a mimosa bar? And your guests will be so impressed!
Cheers!
This is a sponsored post written by me on behalf of La Marca Prosecco. It is intended for an audience over 21 years of age.



Julie @ Girl on the Move
April 17, 2014 at 7:34 am (10 years ago)Oh my goodness, this is such a great idea! This would be perfect for a spring time brunch!
Julie @ Girl on the Move recently posted Cupcake Adventures: Frostings
Laurie
April 21, 2014 at 6:29 pm (10 years ago)I loved your Tip Me Tuesday link this week. {thanks girl!} Would you like Tip Junkie to feature your blog post to over 200,000 creative women? If you upload this blog post into your Tip Junkie craft room using at least 2 images, 2 steps, and blog post URL then I can easily feature it in my RSS feed, home page, and all my social networks instantly. {squealing with delight} ~ Laurie {a.k.a. the Tip Junkie}
http://www.tipjunkie.com/post/how-to-add-a-craft-room-project-on-tip-junkie/
Kurt Jacobson
May 15, 2014 at 6:16 am (10 years ago)Who wouldn’t want a mimosa bar in their home?